This blog will show how to add MSSQL or MYSQL server to Android Studio.
Following are the steps that you should follow :
(1) Step – 1 : Download the Jar files of MSSQL or MYSQL as per your need. Both file link are attached below. (Note : You only need one file as per your project requirement if you are using MSSQL then only add MSSQL Jar file and Vice-Versa.)
https://drive.google.com/drive/folders/115-zpMBVpgcXsUyyD-tR9Pz1FWmF7gv-?usp=sharing
(2) Step – 2 : Now create the project or open already created project in Android Studio.
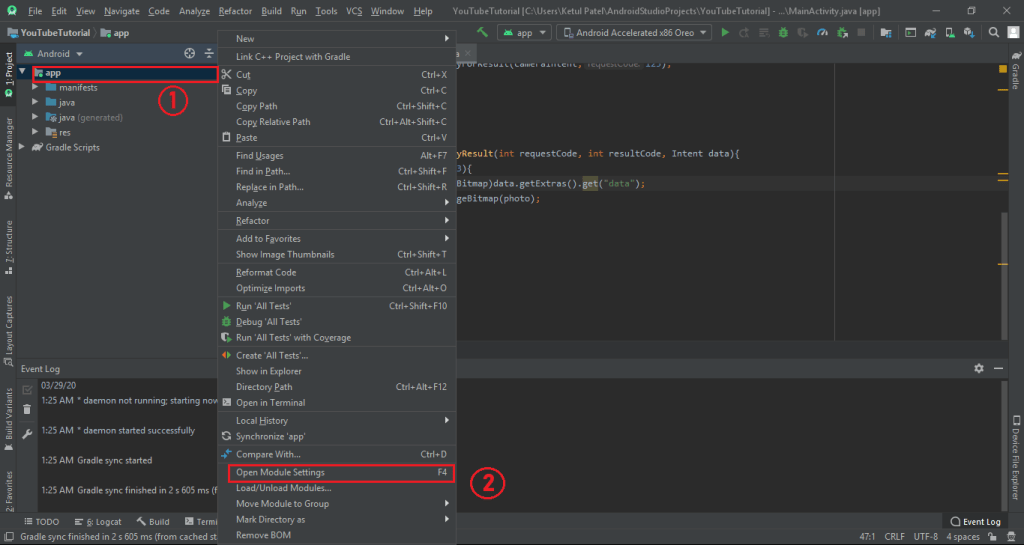
(3) Step – 3 : Now Right Click on your project and then Open Module Setting as shown in the image below.
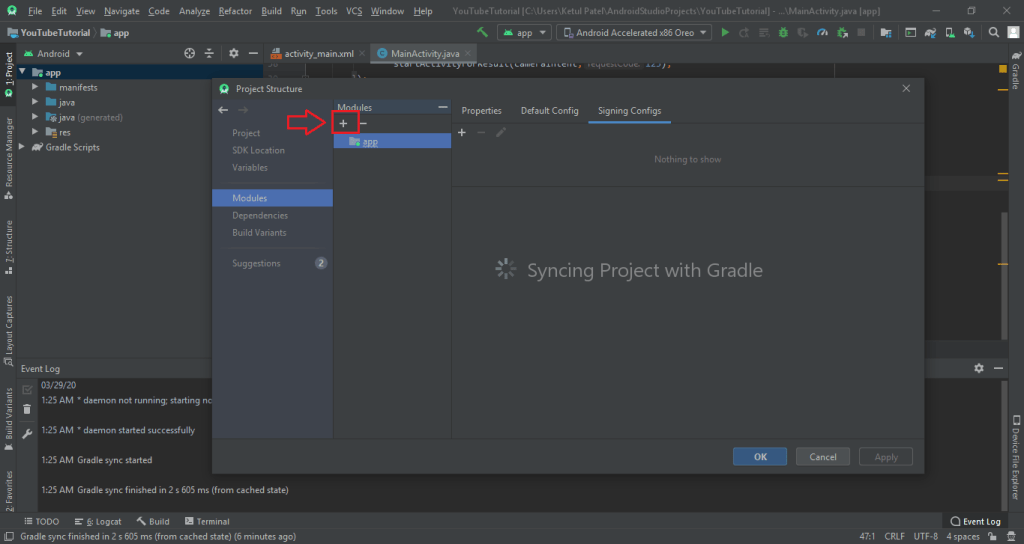
(4) Step – 4 : Now click on the + button as shown in the image below.
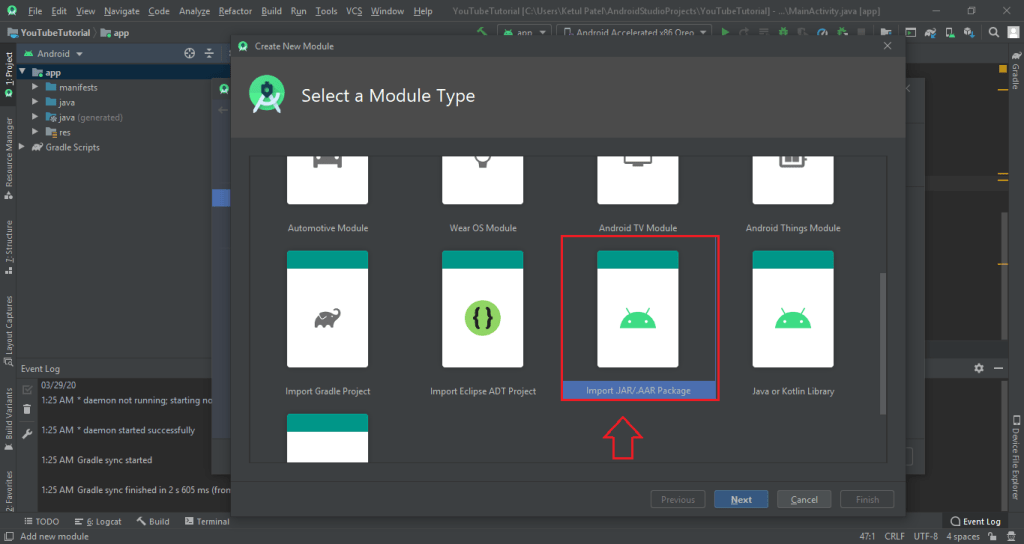
(5) Step – 5 : Now scroll down and click on Import .JAR/.AAR Packages and cick next as shown in the image below.
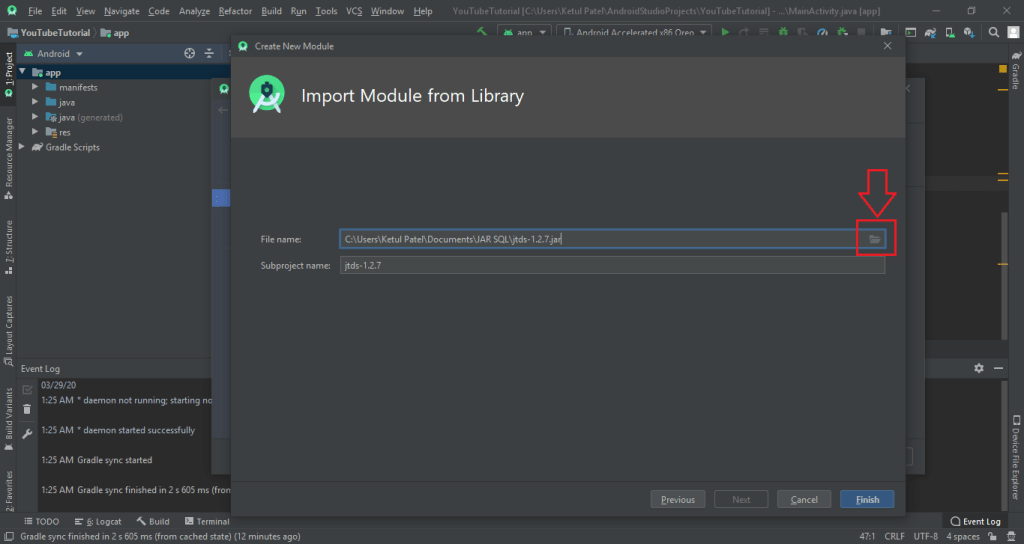
(6) Step – 6 : Now select the JAR file from your system and click finish as shown in the image below.
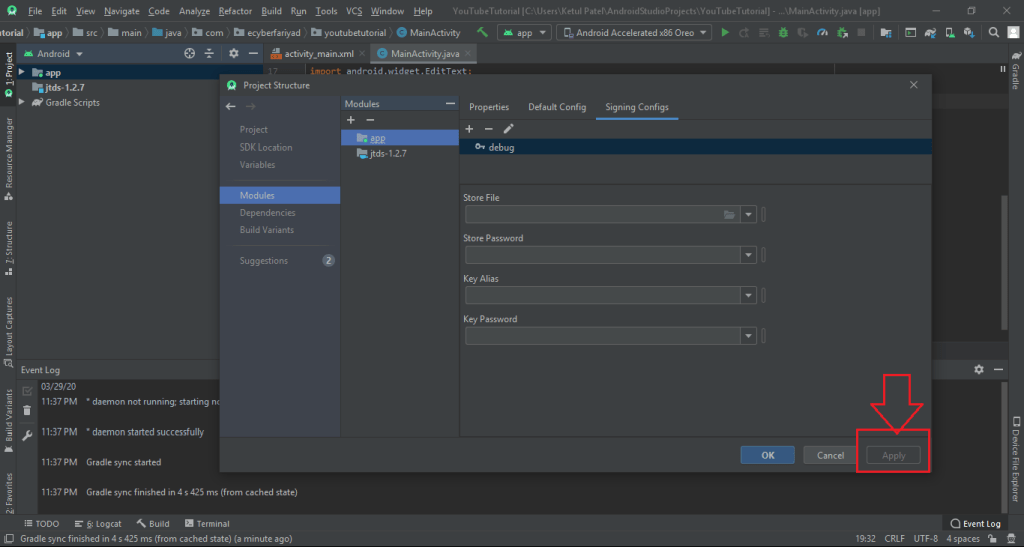
(7) Step – 7 : Now click on apply button so that the JAR files gets Sync with project as shown in image below.
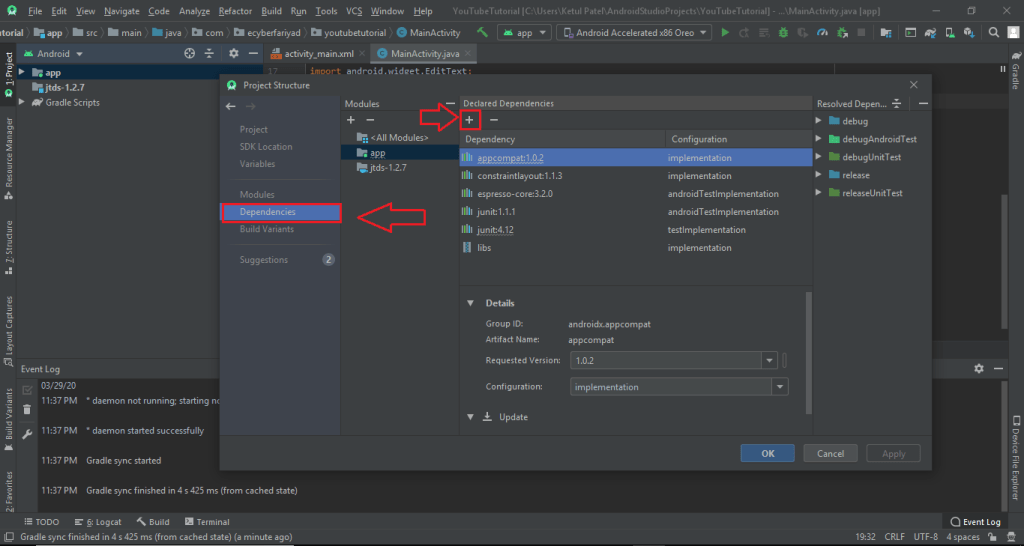
(8) Step – 8 : Now click on Dependencies and than click on + icon as shown in the image below.
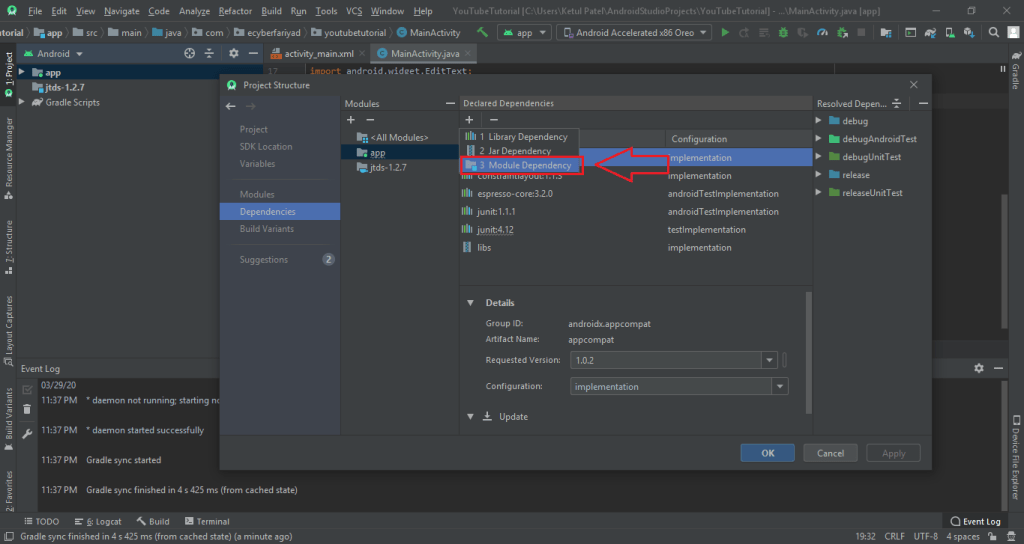
(9) Step – 9 : Now click on Module Dependencies as shown in the image below.
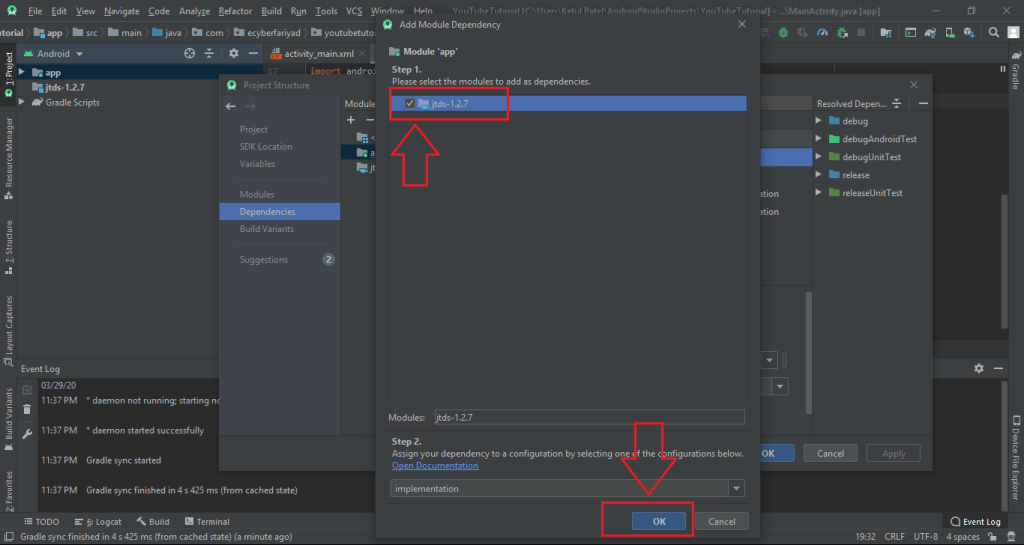
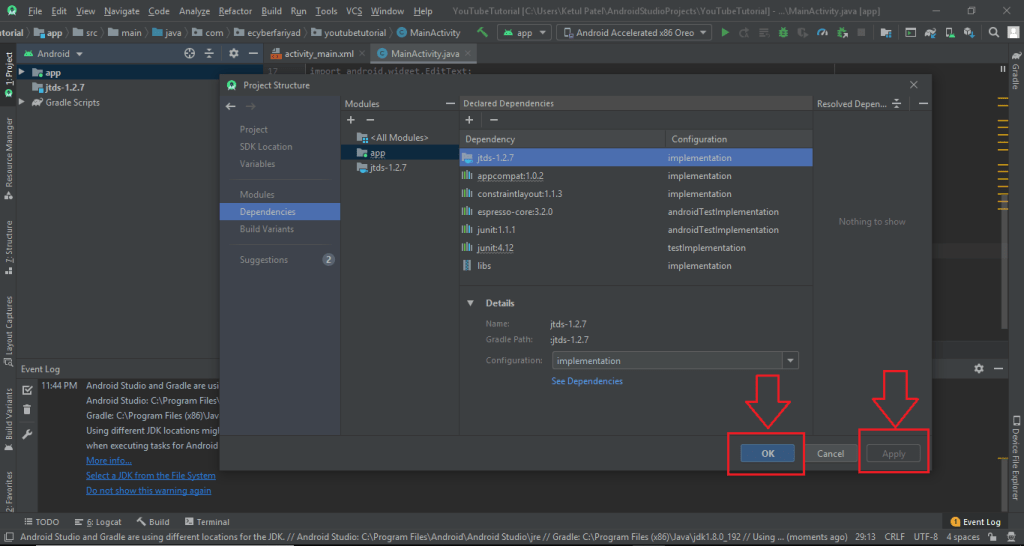
(10) Step – 10 : Now click on the module file and click on Ok button as shown in image below.
(11) Step – 11 : Now click on apply and ok button as shown in the image below.
(12) Step – 12 : Finally the server is added to android studio to see whole process video go to the link below.
